

Saddle bag – simple, but holds everything I need
Why did I go back to the saddle bag? Today I'll show you how it can be minimalist, yet incredibly useful.
Product photos from manufacturers, professional cyclists' bikes – you never see them cluttered with unnecessary bags or pouches. This is sometimes why saddle bags and other pouches don't quite fit our bikes.In recent years, solutions have included integrated frame storage or specifically designed storage bags for road bikes directly from the manufacturer. But what if we don't have such space or a bag?


Personally, I have always carried a Tubolito inner tube attached under my saddle, wrapped in a protective bag. While this solution wasn't entirely aesthetic, I did have a spare tube with me. On the other hand, what bothered me was always having some tools or spare repair items in one of my jersey pockets.
The first impulse for change came when I bought a saddle bag from Continental for my road bike. So, I took a Pirelli SmarTube inner tube, which has compact dimensions, and put it into the pouch. The idea was born.

Pouch for MTB
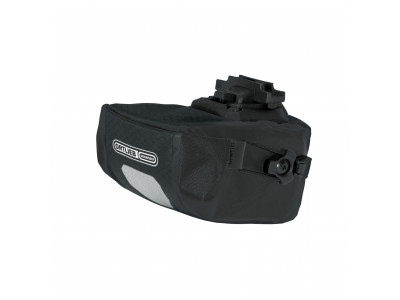
I'll go straight to the pouch itself, specify its contents, and focus on user experience. As I mentioned above, the core is a Pirelli SmarTube spare inner tube, which has smaller dimensions. Naturally, it also includes a tire lever, two butyl gloves, a quick link, a CR2032 battery, a patch, a spare valve, and some sensor mounts.I also added some money, in case I needed to buy food, drinks, or perhaps wash my bike after a muddy ride. Since I ride a tubeless system, I have a Lezyne kit for tubeless tire repair in my handlebars, which also includes 3 zip ties.


The pouch is attached with Velcro, so I was mainly worried about losing it off-road. We've ridden 1000 km together so far, and not once has it fallen off or come loose.
The contents are variable, so we can add other components. For me, I put everything in there that I or my friends have at one point missed on a ride. In today's AXS shifting era, I've already experienced a situation where the batteries were charged, but the shifter itself had an empty battery.
I added gloves so I wouldn't get my hands unnecessarily dirty, and a valve, mainly for the core. Once after a puncture, I bent it, and a new core would have definitely come in handy then.

Road version
For the road version, I kept the road inner tube from the manufacturer, and of course, added gloves, a quick link, a valve core, and money. Since I ride with inner tubes, I didn't bother with a tubeless tire repair kit in my case.I also added zip ties, which can always be helpful, for example, with a broken saddle during a ride. Yes, you read that right, I've experienced that too, and my friend and I managed another 30 kilometers off-road.


What can be improved?
As for possibilities, I still plan to add a pair of brake pads to the MTB pouch. Over time, I'd also like to add a simple multi-tool to both, but I'll prioritise a chain rivet tool. Of course, other things can be added as needed.

Price
The pouch itself is inexpensive and already includes a road inner tube, so overall, with everything, we can assemble it for under €20 as needed. For the MTB version, the most expensive item is the butyl inner tube, but for a higher price, you get a minimalist solution. The price is around €40.I highly recommend to go for small, sealable bags that protect money and small items from moisture. Even though the pouch is rubberized, some water will definitely get through the zipper under heavy rain, which is why I extra-wrapped some items.


Conclusion
This was a small tip on how to assemble a pouch according to your own needs. And even if it might not look perfectly aesthetic in the photo, we always have everything important at hand under the saddle.Photo source: editorial archive
Similar articles
The selection is vast, prices are diverse, and the versions of cycling glasses are endless. How do you make sense of it all and choose the right ones?

What to focus on and how to choose a new road bike, so it meets your expectations to a T.
Ever wondered just how slower a mountain bike is on asphalt climbs compared to a road bike? We tested and compared them, including the ride feel.
Product selection
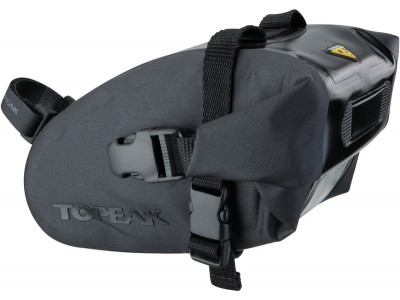
-13% Topeak WEDGE DRY BAG Medium saddle bag, strap, 1 l, black
26.99 €
-13%
RRP 37.99 €


 arrow_outward
