
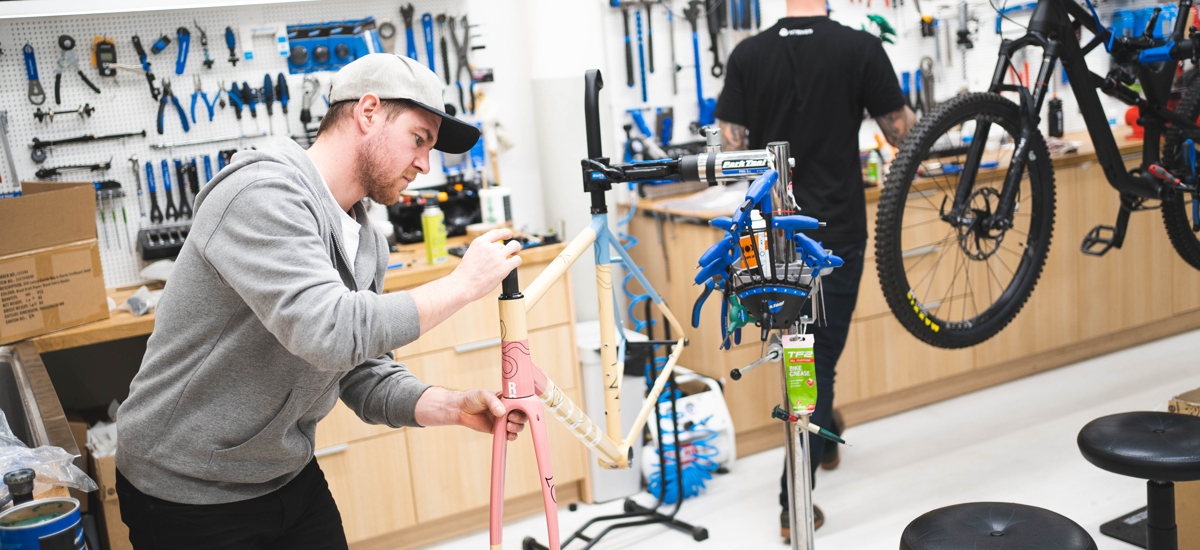
Basic road bike service
Riding a road bike also has its disadvantages - service and maintenance.
Hands up who wants to wash their bike? We won't see many, and it's no wonder – riding is much more fun than hopping around a bike with a hose. But when it comes to machine maintenance, road cycling has a slight edge over mountain biking. We don't have to deal with suspension, we don't have to deal with creaking pivots.Still, you do need to take care of your "razor," and today we'll show you the basics.

He who oils, rides
The drivetrain is the most "moving" part of the bike, so it's obvious how much attention we should pay to it. The maintenance interval varies – much depends on the type of lubricant you use and the conditions you ride in. But a squealing chain clearly indicates that something has been neglected.The first step in drivetrain maintenance is degreasing the chain and other components. As for the chain itself, I've personally found the Park Tool chain cleaner to be effective lately. The main advantage is that the brushes can be replaced over time.

In combination with cleaning fluid, it scrubs the chain to a shine… oh, those were the days when I used to do this with two folded brushes or a cloth, link by link. 🙂
However, the chain tends to get dirty very quickly if we don't pay enough attention to the cassette, chainrings, or even the derailleur pulleys (yes, dirt accumulates there too, and you'd be surprised how much). For all this, there are various brushes, specialised tools that can make cleaning more efficient.

After drying, it's time for lubrication.
If you use classic drip oil/wax, it's important to drip only on the top of the links. It's not needed anywhere else. I personally choose lubrication for dry conditions, as I rarely encounter rain. Recently, however, waxing the entire chain has also gained popularity.
One thing remains constant – with proper lubrication, the chain doesn't attract as much dirt, and it saves you a few watts while riding. 🙂


A stretched chain also reduces performance, but what's much worse, it significantly wears out other drivetrain components.
Fortunately, on the road, it doesn't take as much abuse as off-road – less dirt, less moisture, and usually less cross-chaining. Its wear is also significantly affected by riding style. Cadence riders have an advantage over power riders in this regard. But it still holds that after approximately 1,500 – 2,000 km, it should be regularly measured with a chain wear indicator and replaced in time.

Similarly, attention should be paid to the shift cables, if you're not yet riding electronic shifting.
If you haven't crashed and shifting suddenly starts to "act up," I recommend paying closer attention – these could be the first signs that the cable will likely break soon. Or rather, that it's already too stretched. And therefore, due for replacement.
If your bike already buzzes when shifting, you only need to watch the "juice" in the battery.
Tires – efficiency and comfort
Even the most expensive tires will be "useless" if you don't choose the correct pressure. This is the result of several variables – tubes vs. tubeless, road conditions, and rider weight are the most influential factors.Generally, the following applies: for tubeless tires, with the same rider weight, you should choose a lower pressure than for tubes.
A dry and good quality road surface can handle slightly higher pressure than a poor and wet one. And at the same time, a heavier rider should choose a slightly higher pressure than a lighter rider. If you don't want to experiment, a good starting point is this calculator from SRAM or from SILCA.

Tubeless tires require a bit more care than classic tubes. The sealant in them doesn't last forever, so it needs to be refilled regularly.
The recommended interval and quantity vary across manufacturers, so in this case, just follow the instructions on the packaging. In addition to refilling, it's worth removing the tire and cleaning out sealant residue from time to time.

However, a few things connect both types of tires. Pressure should be checked, and adjusted if necessary, before every ride. Not every tubeless setup holds pressure perfectly. Especially if there's less sealant, some tires tend to "lose pressure" quite quickly.
With excessively low pressure in tubes, there's a risk of a "pinch flat" against the rim. You also need to monitor tire wear.
It's clear that tires usually last several thousand kilometres (for example, with my 68 kg, I haven't worn out tires even after 8,000 km). But too frequent punctures or a damaged casing are clear signs that it's time for a replacement. Some manufacturers also have wear indicators on their tires – for example, on Continental, these are two small dimples.

Creaking and its common causes
Listening to various cracking sounds while riding is not pleasant at all. Creaking is most often caused by dirt getting into a contact surface. So the possibilities are as follows:- seat post in the frame,
- junction of seat post and saddle rails,
- saddle rails themselves and their connection to the shell,
- loose spokes on the wheels,
- bottom bracket,
- headset,
- stem – fork steerer connection,
- if you don't ride an aero combo handlebar and stem, possibly also the handlebar – stem connection,
- pedal axle.
The solution, fortunately, is relatively simple. Find the source of the creaking, clean the area, lubricate it with a suitable lubricant (or carbon paste), and tighten to the prescribed torque. And then just hope that dirt doesn't get in there again too soon. 🙂

Brakes as the foundation of safety
Brakes deserve our attention perhaps more than anything else on the bike. You can survive with a squealing chain (albeit with sore ears). Without functional brakes, it's a bit worse.Let's start with rim brakes, as they are much simpler to maintain. Just monitor the wear level of the brake pads. Again, the grooves found on them can be helpful.
Although the rim doesn't wear down as quickly as the brake pad compound, it also deserves attention at least once a year. Proper tensioning of the brake cable is also important. This also applies to mechanical disc brakes, although they are functionally closer to hydraulic disc brakes.


Hydraulic disc brakes are a bit more demanding to operate. You need to pay attention to several things:
- Wear level of the rotors – each manufacturer engraves the minimum permissible thickness on their rotors. Once this is reached, the rotor must be replaced.
- Wear level of the pads – pads can be checked with the naked eye, but their approaching end of life is also indicated by a long lever throw.
- Brake bleeding – again, this can manifest (also) as a longer lever throw. However, a rapid decrease in braking power is more significant.
- Contamination of the brake system – this is usually a consequence of small missteps during service. 🙂 Rotors generally don't get along with grease. Therefore, great care must be taken when bleeding brakes, cleaning the drivetrain, and refilling sealant in tires. And ideally, use rotor protection during such operations.
However, it must be said that bleeding brakes is a somewhat more complex operation requiring special equipment. So if you don't feel up to it, there's always the option of taking it to a service center.
It's definitely worth knowing the basic service tasks for your bike. Not only will your two-wheeled darling reward you with greater component durability, but you'll also save on service. 🙂
Photo source: editorial archive
Similar articles

Basic bike maintenance tips that will help you avoid complications. Your bike will thank you with smooth operation, and you'll ultimately save money.
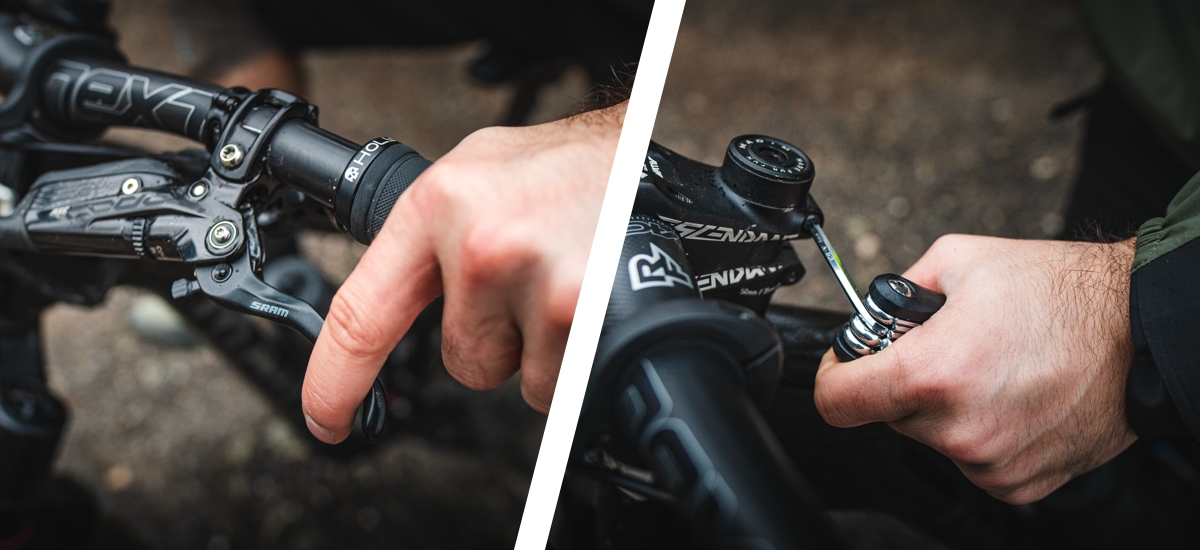
Purchasing any new bicycle is indeed the beginning of a happy life, but only if the bike functions correctly. How should you prepare your bike after the purchase?

Is an endurance road bike just what the average 'hobbyist' needs?
Product selection

Special offer: Battery and charger included Kärcher OC 6-18 medium pressure cleaner, battery
169 €


 arrow_outward
