




























































Bikepacking 101: The Ideal Bike? Maintenance-Free!
Out of all the bikes in the world, we're going to pick the perfect one for bikepacking. What features should it have?
Bikepacking may not be as popular as road cycling or cross-country riding, but it can take you to many unexplored places. And they don't even have to be in distant countries. But more on that later. First, we need to choose something to ride...I only recently delved into the world of bikepacking. This series is primarily intended for beginners. And since I was recently dealing with many of the questions we'll cover in this series, we'll be pretty much on the same wavelength.
Keep it simple
Bikepacking is a truly magical discipline in some ways. You rarely rush (unless you're racing, but more on that later), you don't worry about average speeds, and you simply enjoy the views—and the frequent headwind that makes my life difficult. So, if you want to try bikepacking, my first piece of advice is: don't look for an unnecessarily expensive bike.For example, for several years now, I've been riding a carbon endurance road bike, the Superior X-ROAD Team Issue, and a carbon full-suspension cross-country bike, the Superior TEAM XF 29 Elite. As you might guess, my bikepacking bike isn't carbon...
Simply put, the more expensive the bike, the more you worry about it at night, the less willing you are to really load it up (not just with luggage), and the more demanding it is in terms of maintenance and spare parts.


Choose parts that you can repair on the go.
I ended up with the Marin Nicasio 1, which weighs almost as much as my two bikes combined. And at the same time, I could buy about 13 of these Marins for the price of my two bikes (after modifications and modernization). 🙂
If you just take a quick look at the bike's setup (I'll go into more detail later), you'll discover the second piece of advice: simplicity is beauty.
Maximum repairs in the field
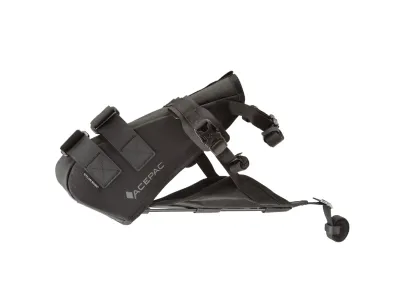
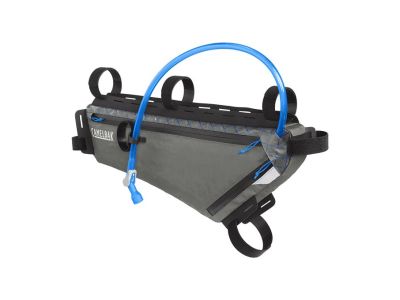
Now we can break down the entire bike into its components. Everyone has different preferences, so let's open the discussion. 🙂One of the key components of a bike is the frame. If you want to specialize in bikepacking, it's good to have several mounting points for luggage, and possibly for fenders. Typically, such a bike is equipped with a saddle bag (or rack bags), a handlebar bag, and, if needed, a frame bag or fork bag.


How many mounting points you use is entirely up to you—or you can decide based on the length of your trips. If you're planning a simple three-day bikepacking trip, you should be able to pack everything into a saddle bag–handlebar bag–frame bag combo (or just some of these bags). If you want to go on a trip across Africa, a fork bag will definitely come in handy.
The frame material is no less important. I opted for timeless steel, which offers several advantages. It provides some damping properties, and if something were to happen to me somewhere at the end of the world, it could still be welded, meaning I wouldn't have to buy a new frame.
Of course, this is a hypothetical benefit, so aluminium certainly won't hurt either. And it will definitely be lighter than steel. If you want to explore the topic of frame materials in more detail, I recommend this older article on frame materials.
The third thing is geometry. It's quite possible that if you look for bikes designed for bikepacking, you'll automatically get it. The important thing is that the riding position should be more relaxed and upright, which can help relieve your back on long rides. So, you should focus on a shorter reach and a higher stack.


In connection with the frame (but not only), my third piece of advice is: choose components so that you can perform most repairs directly in the field. For me, this means mechanical shifting and, somewhat against the grain, mechanical brakes. This way, you only need to carry a few cables, and if anything "goes wrong," you can simply replace them.
When choosing, don't forget that you'll be going farther rather than faster.
It's a task that even a below-average mechanic (like me) can handle, and the necessary tools certainly weigh less than a bleeding kit and brake fluid. 🙂 While I sacrifice some braking power and modulation, I haven't yet encountered a situation where I couldn't brake to a stop.
📌 Footnote: this doesn't mean that hydraulic brakes are a mistake. With regular servicing, there's a negligible chance of air getting into the system precisely during a longer trip. However, they were not an absolute prerequisite when choosing a new bike.
Inner tubes are still in
The third piece of advice also concerns tires, or rather inner tubes. If we're still talking primarily about adventure bikepacking, I opted for the tried-and-tested system with inner tubes. The same applies as with brakes—a spare inner tube or a puncture repair kit is lighter than sealant for dealing with a larger puncture.At the same time, this system is still popular and widespread worldwide. No matter when a puncture occurs, changing the tube will only take a few minutes, and you can find a new inner tube or repair kit in almost any bike shop.


We'll discuss tyre selection in more detail next time. Here, we indirectly return to the frame—don't forget about adequate tyre clearance!
The main thing is to manage the climbs
Multi-day cycling also comes with certain hardships. Perhaps the most prominent is the burden of carrying your own luggage. And this brings us to the topic of gearing. We'll put mountain bikepacking and related matters aside for now, and I'll say right from the start that I'm not a fan of single chainrings. The reason is simple—you'll likely encounter a wide range of terrain.
Flats, small hills, very long climbs, and pedal-able descents—a well-designed drivetrain with a single chainring should handle all of that, right? Well, yes and no. You also have to account for the luggage—the bike can easily become 3–5 kg heavier (bags + equipment).
For comparison, on my road bike, I ride oval chainrings in a 50/34 setup and an 11–34 cassette. On the Marin, I have round 50/34 chainrings and an 11–32 cassette.
However, when I put two and two together—the higher weight of the bike, the narrower cassette range, and the luggage—the climbs can sometimes really challenge me, and I feel the miles in my legs much sooner. So, the last piece of advice for your bike is: allow yourself some reserve in your gearing.


So, what should an ideal bike for road or gravel bikepacking have?
- enough mounting points for bags
- tyre clearance based on the primary terrain I plan to ride
- easy repair of malfunctions
- suitable and versatile gearing
- a price that means I won't feel bad leaning it against a tree, a wall, or simply leaving it out in a meadow at night
Finally, I'd like to add a few tips—or rather, a few bike models—that have recently caught my eye and will certainly hold their own in the bikepacking world:
- entry-level bike: my Marin Nicasio
- the golden mean: CTM Koyuk
- ...or: Kellys SOOT/Groot
- the classic Orbea Terra (although the Race version is more pleasing to the eye)—here we're moving into more expensive models, which are more suitable for long-term bikepackers. Or for those who will forego my well-intentioned advice. 🙂
When choosing, don't forget that you'll be going farther rather than faster. Of course, even if you buy a nice bike, you can still fine-tune it to your liking. But more on that another time.
Photo source: editorial archive
Similar articles
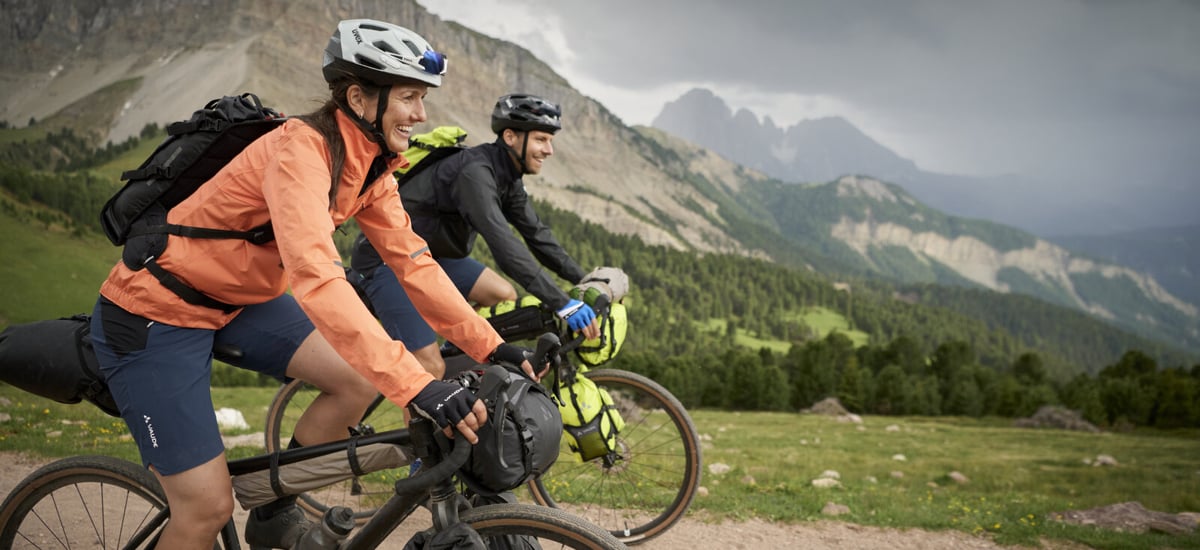
Not 100 % satisfied with your new bike? It’s time to fine-tune it to your liking!
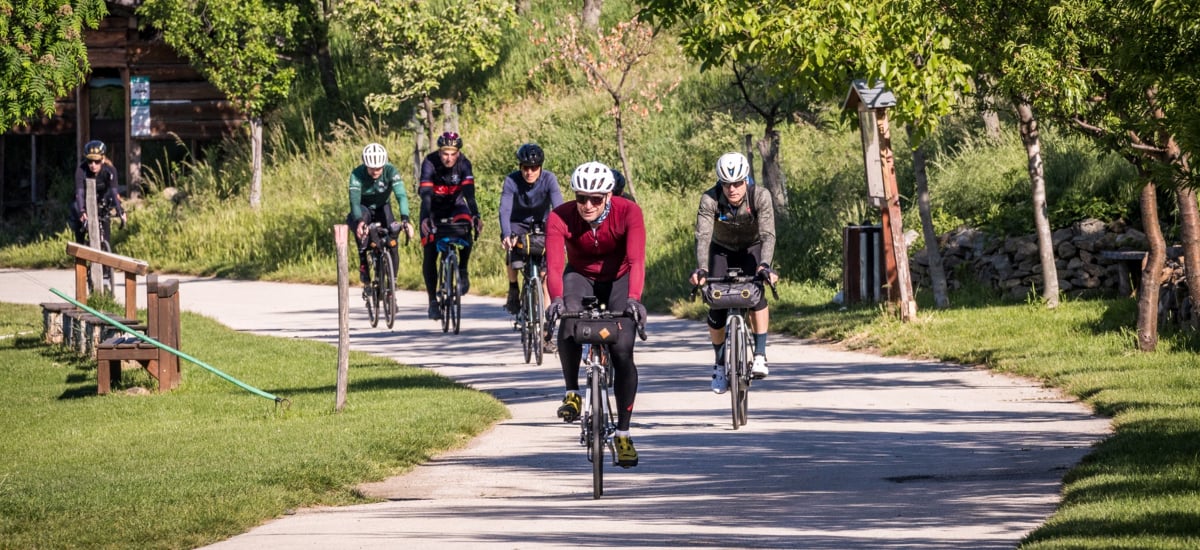
Unforgettable experiences, uncharted places, and nights under the stars—bikepacking brings all of these together.
 PR article
You no longer need the heavy steel racks of the 1980s for long expeditions. Today, all you need is a frame with plenty of mounting points, wide tyres, and gearing capable of tackling any hill, even when fully loaded.



 arrow_outward
