





























































What to pack for a road ride?
What should you pack for a road ride? Can you even tailor your gear to the length of the ride?
Road rides and road cycling, in general, differ from MTB in one fundamental aspect: they embrace minimalism. While it's not a strict rule, you'll rarely see a road cyclist wearing a backpack.In this article, we'll discuss what to pack, how to pack it, and where to carry it. In addition to the "classic" tips, I'll also share a few of my own life hacks that I've adopted over the years.
Essential gear for every ride
Whether you're heading out for a quick 20 km spin or gradually working your way up to 100-kilometer rides, some essentials remain the same:Helmet
We only have one life, so protect it and wear a helmet on every ride.Lights/safety lights
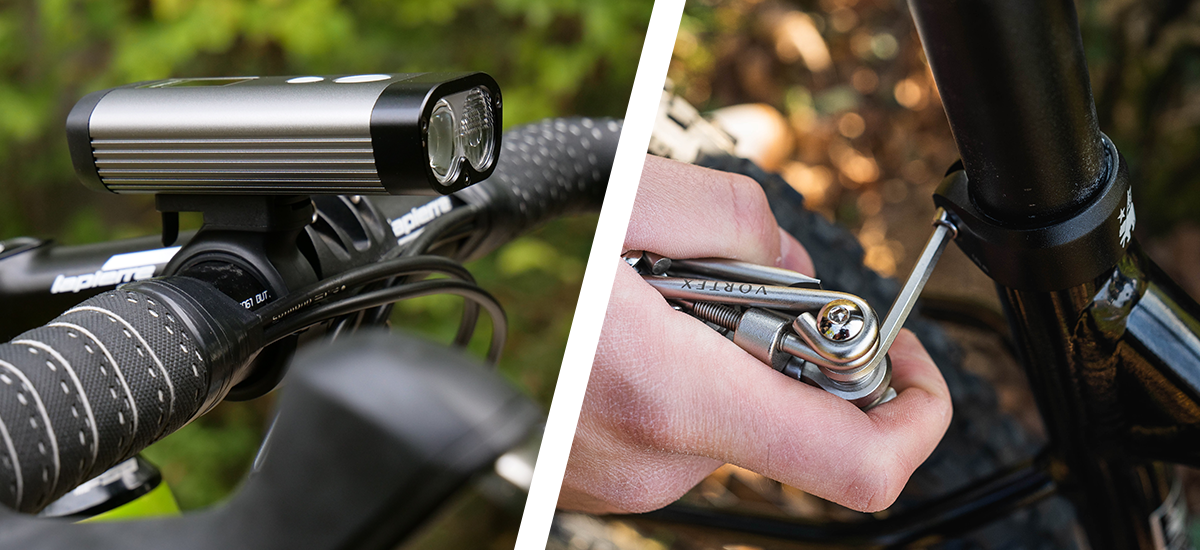
This may be a frequently repeated topic, but proper lighting is one of the basic elements of safe riding and should always be part of your essential gear. This is especially true in spring and autumn, when shorter days make good lighting even more important.

Pump/CO2 cartridge
The choice depends on how eco-conscious you are, how much of a hurry you're in, and how much of a weight weenie you are. I've long been loyal to a classic mini-pump, and on the road, I currently carry the Lezyne Pocket Drive Pro. Pumps offer the advantage of unlimited reuse, while CO2 cartridges provide faster inflation and, in most cases, lower weight.However, it's worth noting that inflating a tire with a CO2 cartridge is only a temporary solution. Since CO2 escapes through the pores of the inner tube (or tire) faster than air, a cartridge should be considered a "get-you-home" solution only.


Patch kit/plugs
This depends on whether you ride with inner tubes or tubeless tires. From time to time, a puncture may be beyond the capabilities of sealant, and in that situation, only a plug will help. Patch kits for inner tubes, on the other hand, are small, lightweight, and compact, allowing you to fix a flat quickly. But if you don't want to spend time patching, there's always…

Spare inner tube
A faster alternative to patching. If you want to save weight, lighter TPU inner tubes can make excellent backups. However, whether you decide to patch a tube or simply inspect the tire and install a new one, you'll definitely need…Tire levers
One of the basic tools for successful flat repair. Before replacing or patching an inner tube, you first need to remove the tire. If you're dealing with a particularly tight tire, tire levers can also make reinstallation much easier.Multi-tool
A loose screw may seem like a minor issue, but it's certainly not something to ignore. Even an inexpensive multi-tool can save the day in such situations.Quick link
Although a broken chain on the road is a genuinely rare occurrence, a quick link takes up so little space that it's well worth carrying.

Tissues and rubber gloves
This may seem like an unusual recommendation, but trust me: if your chain comes off, you'll appreciate having those gloves. 🙂 The same goes for installing an inner tube into a tire covered in sealant.Cash
I've also made it a habit to carry some cash, as you may not always be able to pay by card for an espresso, a pastry, or other essentials of road cycling.ID, ICE card, and a charged phone
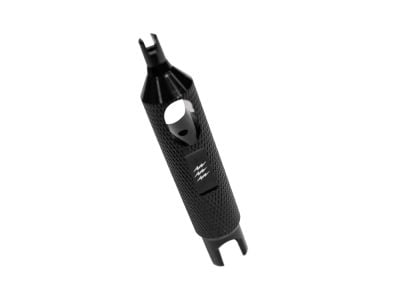
Just in case something happens…Life hack: You can carry small tools on your keychain, such as a hex key socket for wheel axles or a valve core tightening tool.
What else should you consider?
The other items I usually take depend on the length of the ride and the weather. Discussing nutrition would require a separate article altogether. Personally, I follow Imro's motto: "The longer the ride, the more normal the food." So, for a short, fast ride, one or two energy bars or perhaps a banana are usually enough. On longer rides, however, I typically pack a sandwich.Life hack: If you're as fond of isotonic drinks as I am and have a long route ahead, transfer some powder from a large tub into an effervescent tablet container. Suddenly, you have enough mix for "two extra bottles."


A saddle bag is the key to success
Perhaps the most elegant solution to this whole issue is a saddle bag. They come in various sizes, so everyone can choose one that not only looks good but also holds everything they need. However, you should be careful when selecting a specific model—not all saddle bags are compatible with all saddle rails.For example, on my first road bike, I used a PRO MAXI QR saddle bag, which attached to the saddle via a plastic adapter. Naturally, that adapter didn't fit the saddle on my Superior. Nowadays, however, many saddle bags attach directly to the rails with Velcro straps, making them far more versatile.
So what should go where?
That depends largely on the size of your gear. Personally, I always chose my pump first and then selected a saddle bag large enough to accommodate it—I didn't like carrying it in my jersey pocket. Another option is mounting the pump beside the bottle cage. For the rest of your gear, a clever and tidy solution can be a tool bottle, which has become increasingly popular.However, it's better suited to shorter rides, as it requires giving up one water bottle.


I currently use the following setup:
- Saddle bag – pump, tissues, gloves, and other small items. I don't carry plugs because I use tire inserts, which would be sufficient to get me home in an emergency.
- Jersey pockets – phone, wallet, keys, plus all food and spare clothing.
And what about your road setup? Do you carry anything special?
Photo source: editorial archive
Similar articles
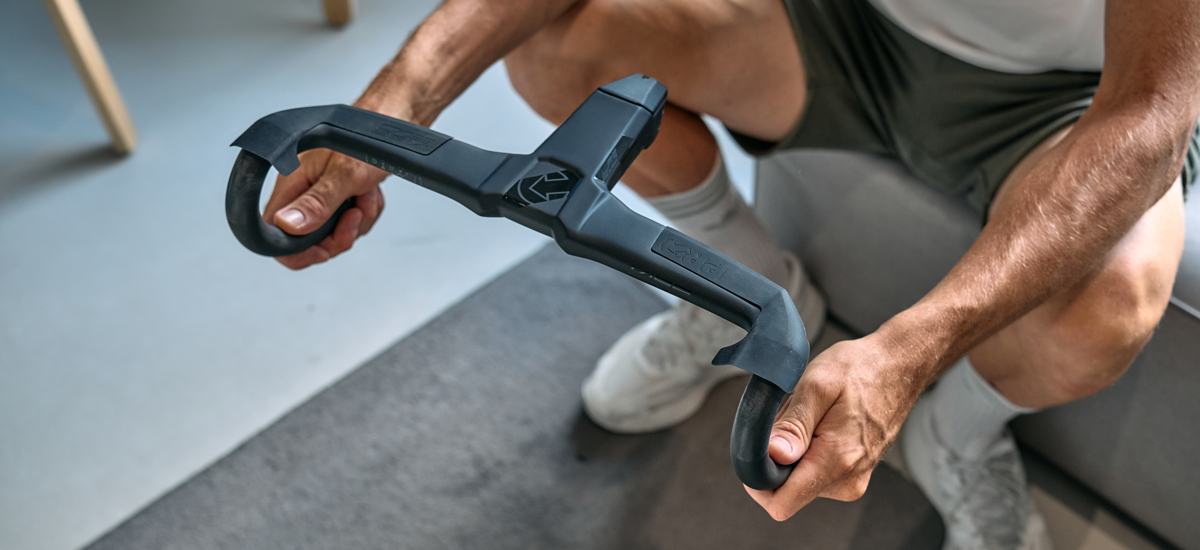
Road or gravel handlebars are more important than they might seem. They affect riding position, comfort, ergonomics, and performance. Good design is a plus as well.

What to focus on and how to choose a new road bike, so it meets your expectations to a T.
 PR article
Details that add value to your ride. Whether you're racing or just want only the best, this gear will elevate your performance and comfort.



 arrow_outward
