




































































Service: Shimano Hydraulic Brake Bleeding
Like all bike components, brakes require regular maintenance. Bleeding the system and, if necessary, replacing the brake pads is the most reliable solution.
Each brake manufacturer uses a slightly different servicing method, which is why there are specific bleeding kits and adapters for different brake types. However, the basic principle remains the same.In this article, you can find the procedure for bleeding Shimano brakes. The process itself is relatively simple, so there is no need to be intimidated by it.
You need:
- Set of hex keys
- Mineral oil (50 ml is sufficient for both brakes)
- Bleeding kit
- Optional: syringe with a hose (inner diameter 3.7–4.0 mm)
- Brake lever funnel
- Bleeding block for the brake caliper (yellow block)
- Ideally, a brake piston spreader
- Circlip pliers
- Optional: new brake pads
If you're servicing your brakes at home and don't have a garage or workshop, it's a good idea to place a mat or cardboard under the bike. Brake oil can be difficult to remove from flooring surfaces.


Step-by-Step:
Step 1: Securing and Adjusting the Bike
First, secure the bike, ideally in a repair stand. Remove the wheel corresponding to the brake you are bleeding. Loosen the brake lever clamp and reposition the lever horizontally before tightening it again.If the lever is equipped with a reach-adjustment screw, loosen it to increase the distance between the lever and the grip.


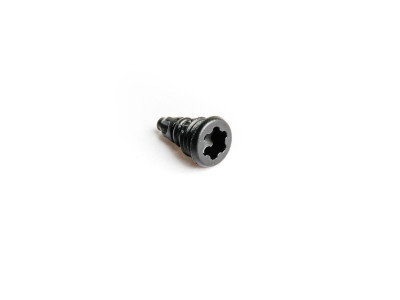
Using a 2.5 mm hex key, remove the bleed screw from the expansion reservoir. Make sure the seal remains attached to the screw.
If it is not on the screw thread, it may still be seated inside the reservoir. If so, remove it carefully and reinstall it on the screw.
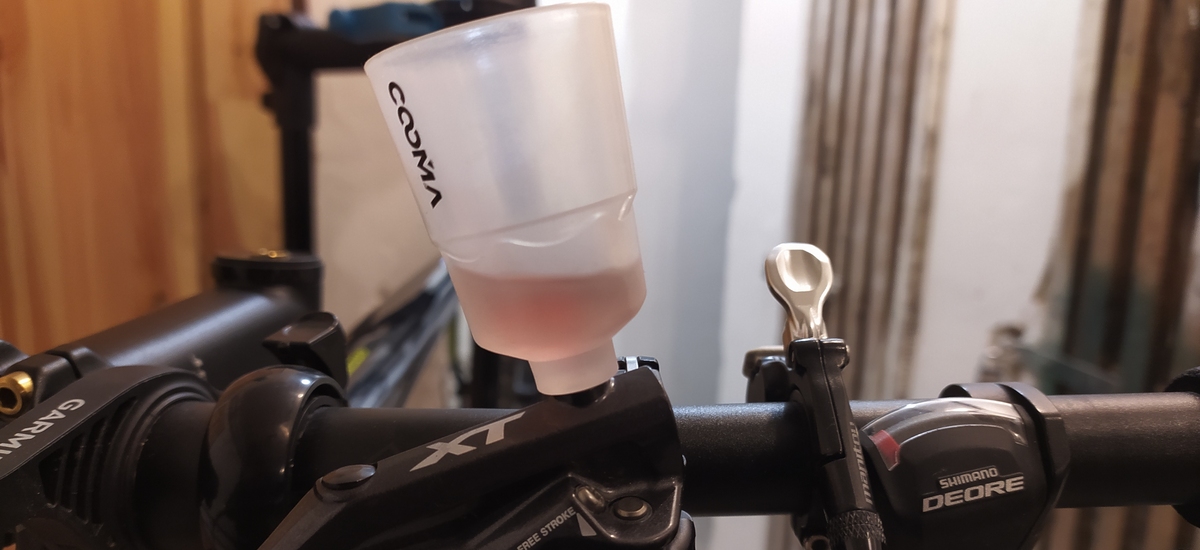
Next, attach the funnel (bleeding cup) by threading it into the expansion reservoir. Since the funnel is plastic, tighten it gently—there is no need to overtighten it.


Step 2: Preparing for Bleeding
Use pliers to remove the retaining pin from the brake caliper, or unscrew it with an Allen key if applicable. Remove the brake pads from the caliper. Using a brake piston spreader, push the pistons fully apart.If necessary, you can use a tire lever or a wide flat-head screwdriver, but only through old brake pads.
⚠️ Never press directly on the brake pistons with a screwdriver, as this can easily damage them, especially if they are ceramic.


Insert the bleeding block (yellow block) into the caliper in place of the brake pads and secure it with the retaining pin.

Step 3: Bleeding the Brake System
Fill the syringe and hose with mineral oil intended for Shimano brakes. Every brake system is designed to use either mineral oil or DOT brake fluid.⚠️ Always use the fluid specified by the manufacturer. Using DOT fluid in a brake system designed for mineral oil can cause severe damage.


Remove the stopper from the funnel. On the brake caliper, remove the bleed valve cap (dust cover) and attach the hose from the syringe to the valve. Loosen the bleed valve by a quarter to half a turn.
First, pull back on the syringe plunger. An air bubble will usually appear because of the hose connection. Hold the syringe upright relative to the caliper and allow the air bubble to rise away from the fluid, preventing air from entering the system.


You can now push fluid into the brake system.
As fresh fluid enters through the caliper, old mineral oil will begin to collect in the funnel at the lever. Squeeze the brake lever several times to release any trapped air from the lever piston.
Tap the brake hose along its entire length with your hand or a suitable tool to help dislodge any remaining air bubbles, which may cling to the inside walls of the hose.


Close the bleed valve, pull back on the syringe to create a slight vacuum, and disconnect the hose.
Wipe away any oil around the valve and reinstall the dust cap.
Step 4: Inspection and Finishing
Insert the stopper into the funnel and unscrew it from the expansion reservoir. Reinstall the bleed screw, ensuring the seal is correctly positioned, and tighten it gently. Wipe any excess oil from the brake lever with paper towels.Remove the retaining pin and then the bleeding block from the caliper. The bleeding block maintained the correct piston position throughout the procedure, ensuring proper setup for installing new brake pads.


Install the new brake pads and secure them with the retaining pin. Reinstall the wheel.
Return the brake lever to its original position and readjust the lever reach using the adjustment screw if your brake lever includes one.


Caliper Centering
As a final step, loosen the two bolts securing the brake caliper so that it can move slightly. Squeeze and hold the brake lever to center the caliper over the rotor. While holding the lever, tighten the bolts to a torque of 5–6 Nm.

Any reasonably experienced cyclist can perform this procedure at home. It is not particularly complicated, but if you encounter any difficulties, do not hesitate to contact a professional service centre.
With patience and the right tools, most riders can successfully bleed and adjust their brakes themselves.
Photo source: editorial archive
Similar articles

Basic bike maintenance tips to help you avoid problems. Your bike will reward you with smooth, reliable performance, and you'll save money in the long run.
Everyone knows Tiagra, Ultegra, and Dura-Ace. But where do the names Shimano gives to its road groupsets come from?

We tested a range of pedals to help make your choice easier.


 arrow_outward
